Attention:
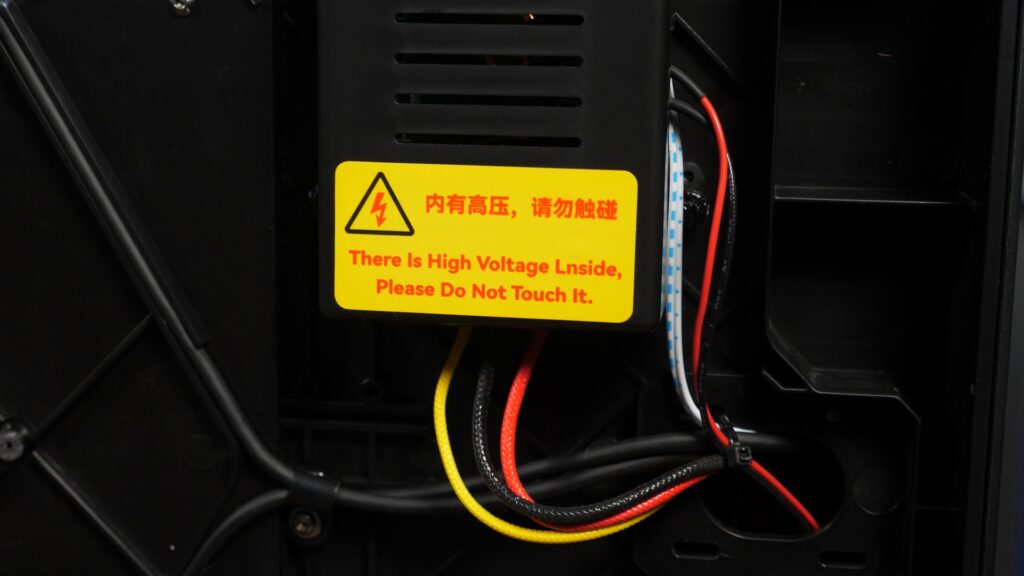
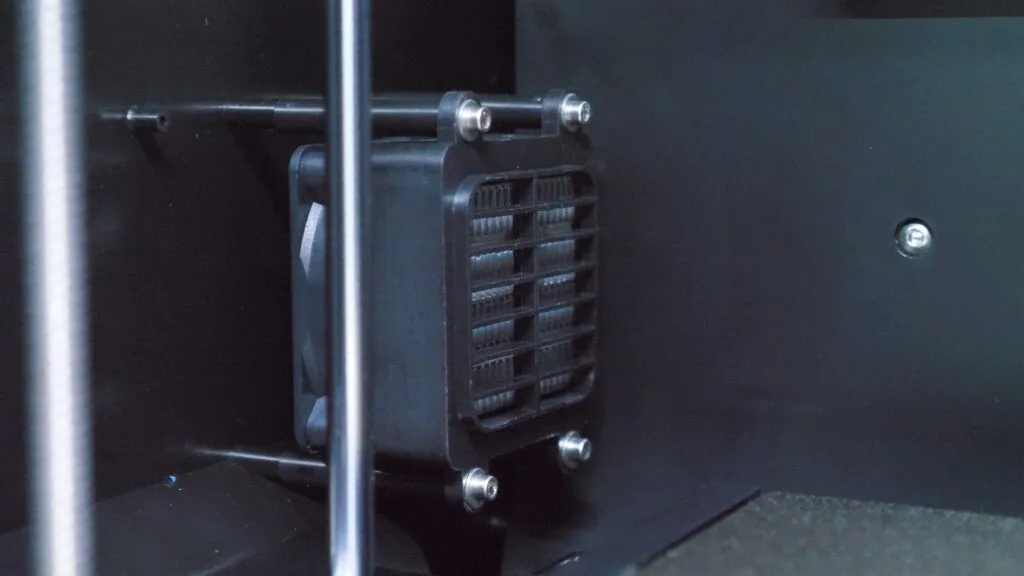
After writing my review I did a teardown of the printer and discovered that the chamber heater, powered by mains voltage, has live mains voltage on the fins, which can be touched with a finger through the grill, or other metal objects such as the flex plate.
The true probability of harm to a user is unknown, but the potential risks include death. As a result, I cannot recommend this machine at all. Action is needed by Qidi Tech to rectify the issue, they have been contacted regarding this issue and I am awaiting their formal response.
Overview
As a reviewer, one of the most frustrating things for me can be a potentially great printer with some really careless flaws that ultimately make it hard to recommend. However, from time to time I do also come across surprisingly good printers, from places you might not typically expect. Perhaps a little bit like this, the Qidi Q1 Pro, which they’ve sent me for review. I’ve not been paid, but it’s technically still sponsored since they sent me the printer.
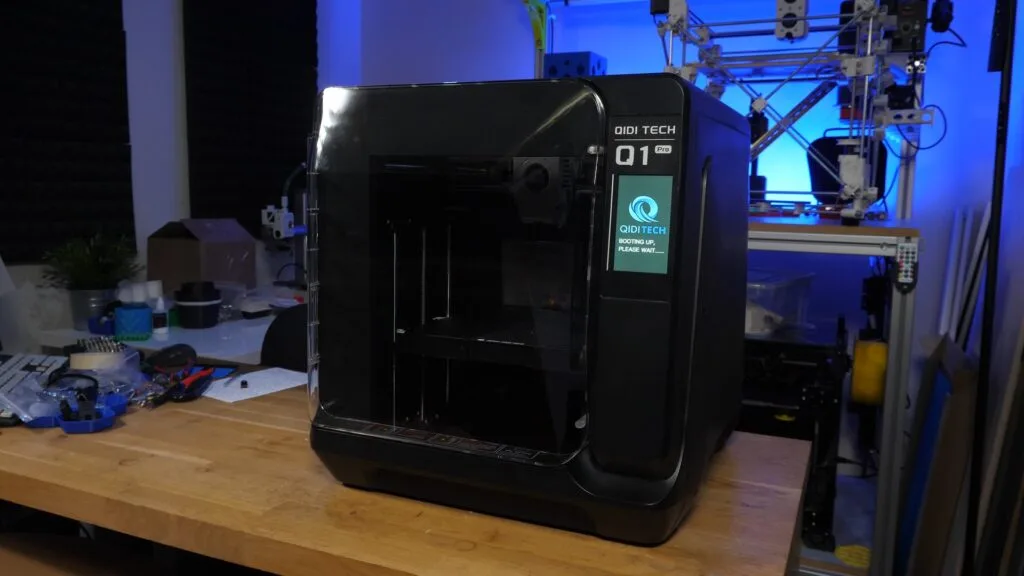
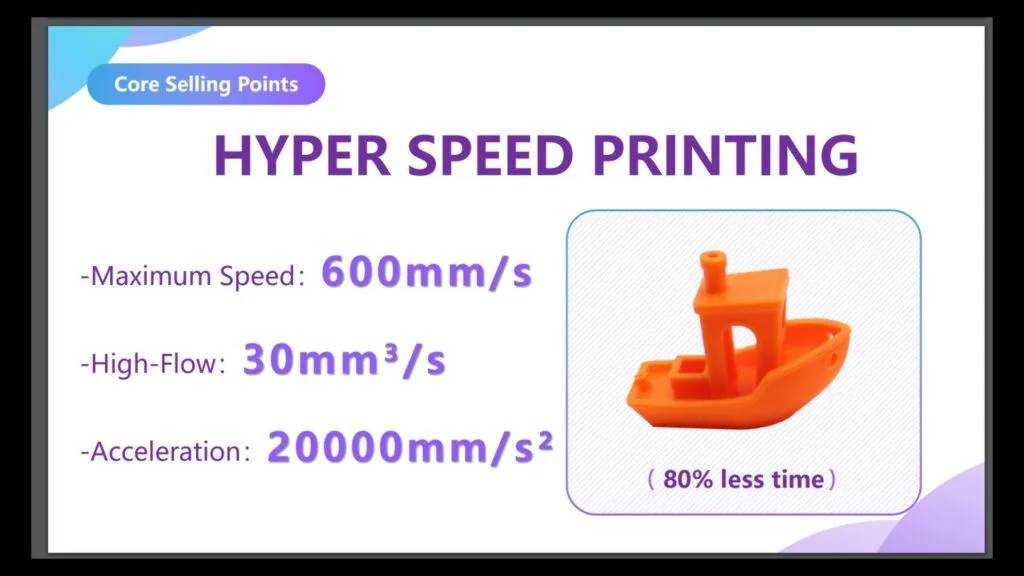
The Q1 Pro is a fully enclosed CoreXY FDM printer with active chamber heating, bi-metallic hardened tip nozzle, 245x245x245mm build volume, that can heat up to 120C on the bed and 350C on the nozzle. They claim printing performance up to 600mm/s speed and 20kmm/s² acceleration. That seems like quite a lot to promise for the $599 USD price tag, So let’s find out if they managed it.
Detailed Look
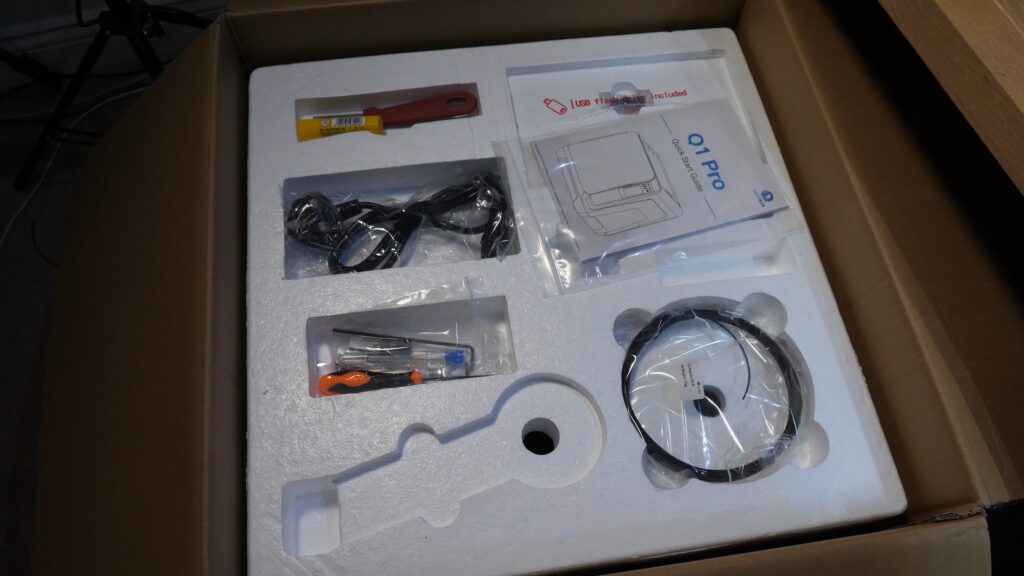
The Q1 Pro is a pretty large machine, but the packaging is made of hard polystyrene which isn’t a great choice since after a single impact it’s about as much use as a chocolate teapot. The whole industry has been using black closed cell foam for a while, so I have no idea why Qidi is still living like it’s 1999. After unboxing, the initial setup is reasonably smooth. The screen on the front will guide you though some of the unpacking and setup, but crucially misses Wi-Fi which seems like a pretty major oversight considering that, with Klipper and fluid installed, you should really be using the network connectivity features that it comes with.
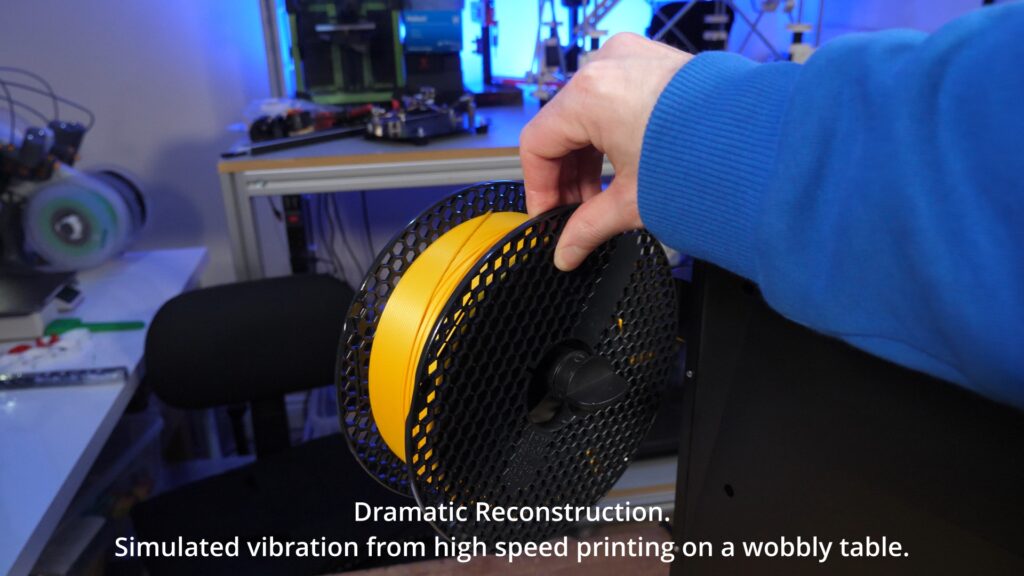
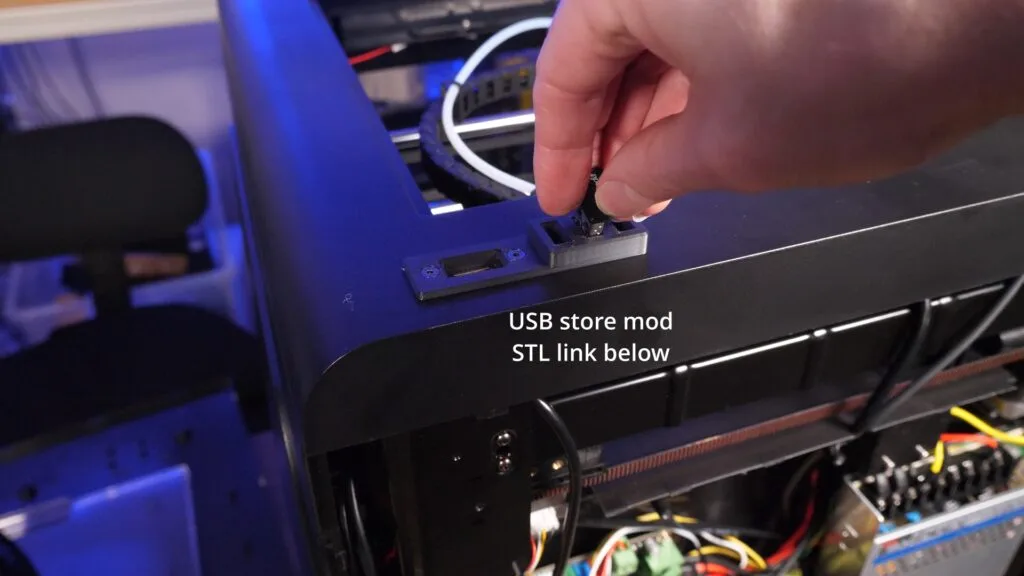
With the printer running, lets have a quick look over what we’ve got. Looking around the outside the first thing I noticed is how plastic and large the outer shell is. In my opinion it looks kind of ugly and cheap as a result which is a bit of a shame. We also find the power connection on the back, USB on the top, screen on the front, and an SSR for the chamber heater on the bottom, but don’t touch it as there is High Voltage “Lnside”. The spool holder attaches to the back panel and sticks out the side. It is possibly the wobbliest design I’ve ever seen, but at least it is not right on the back.
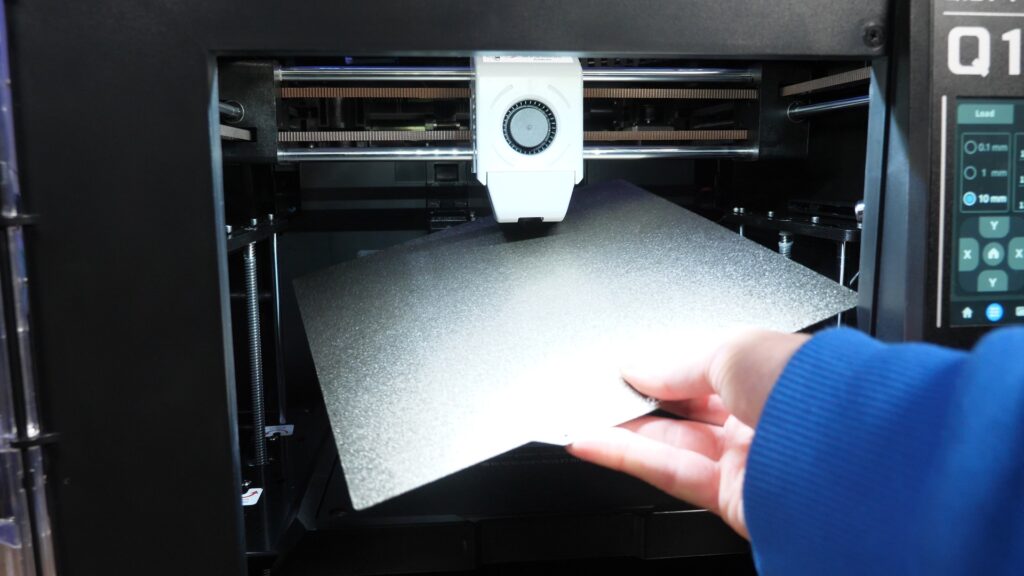
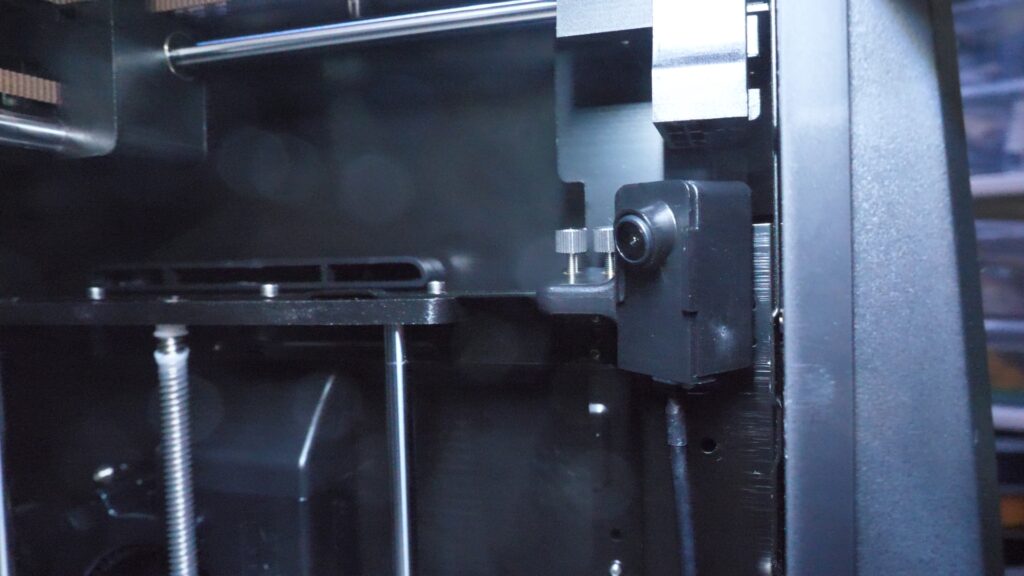
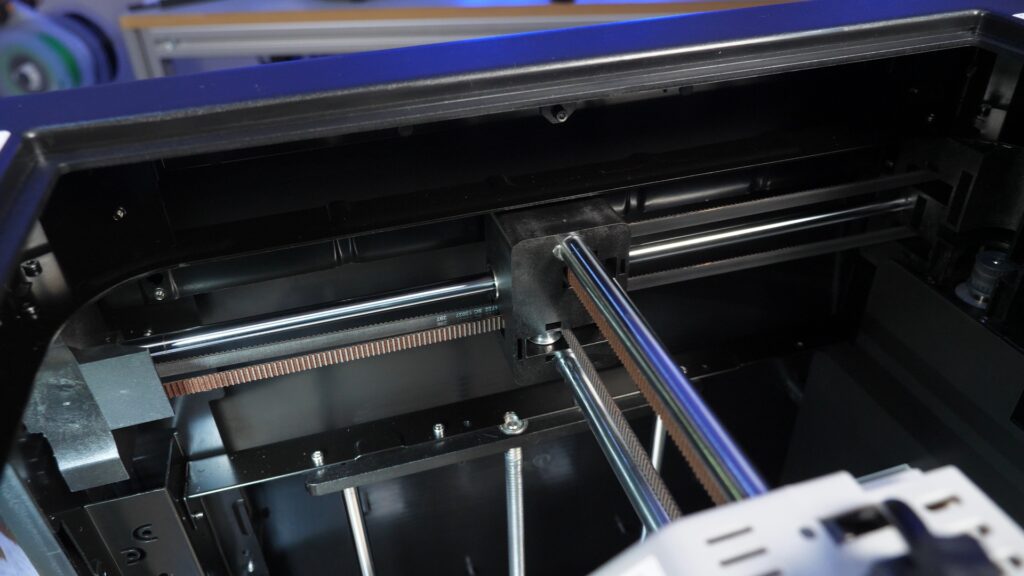
As we try to open the door to look inside, it’s immediately obvious that there isn’t a door handle. I’d say that’s mildly inconvenient but I suppose it’s easy enough to fix. Upon inspection, we find steel rods for the motion system, a fairly large toolhead for the direct drive extruder and hot end, a USB camera, dual Z lead screw motion system, side blower fan, PEI flex plate and the steel frame which makes up the core of the printer. Notably too, we see a tiny little heater in the back corner which should help heat up the enclosure.
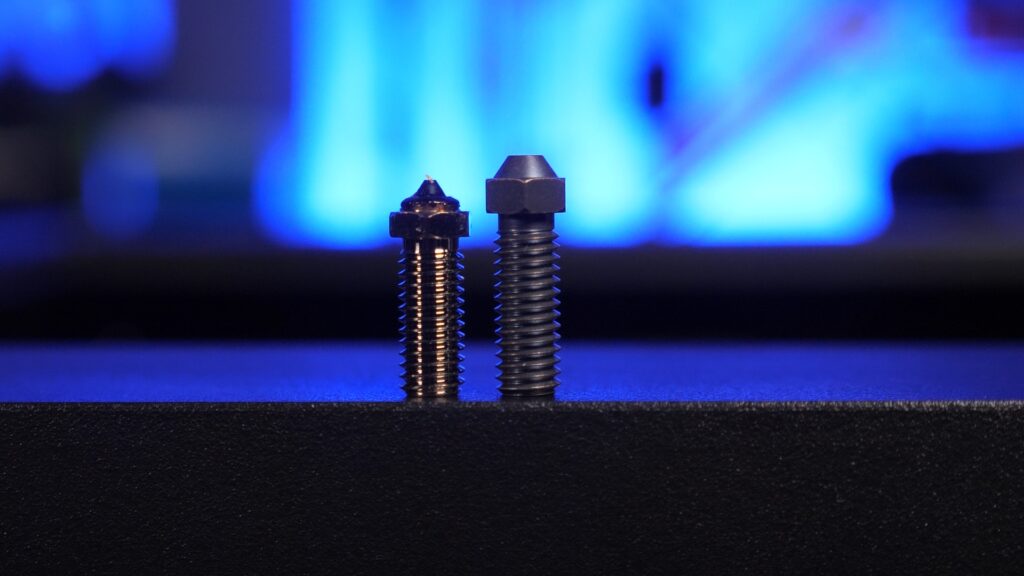
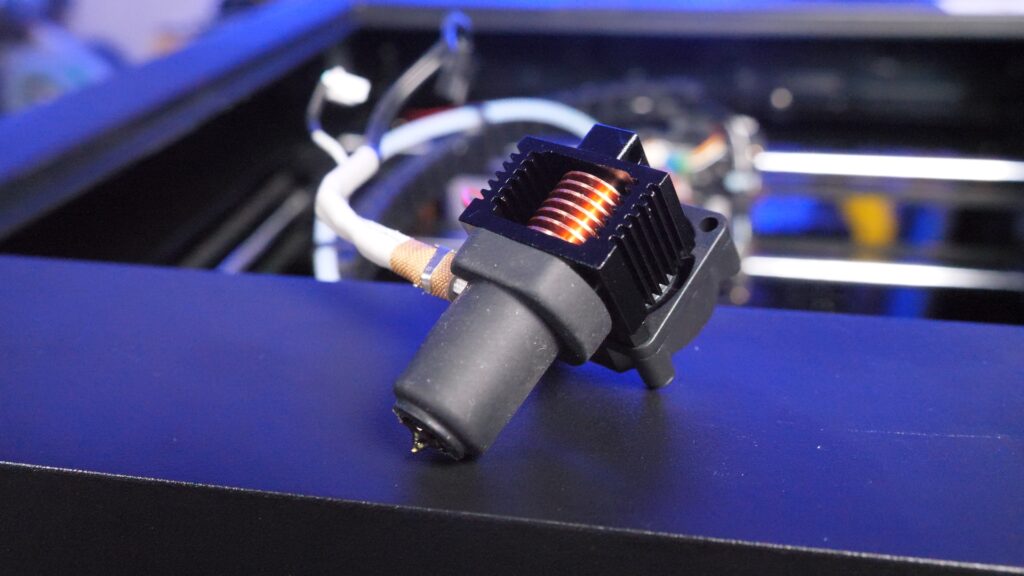
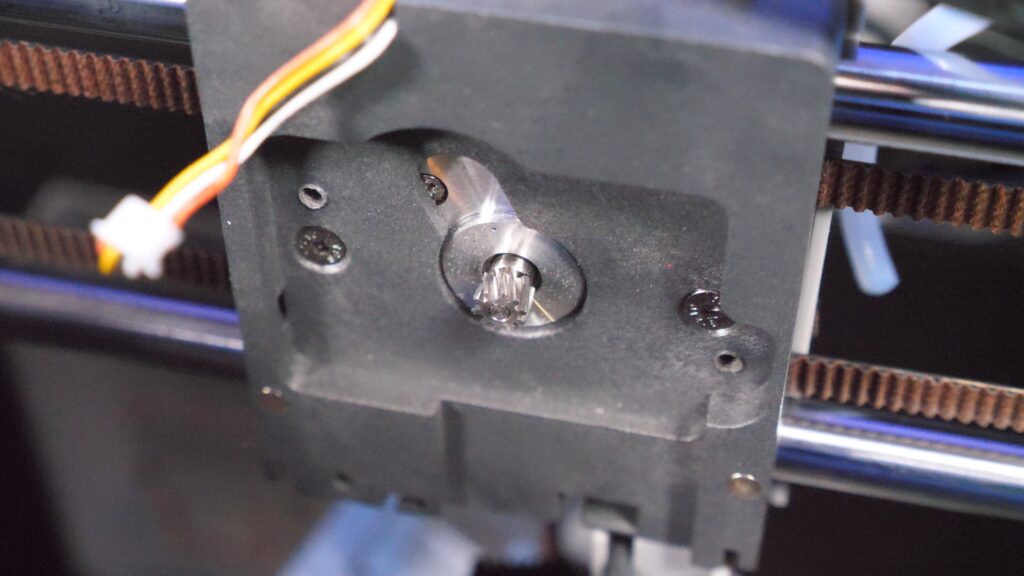
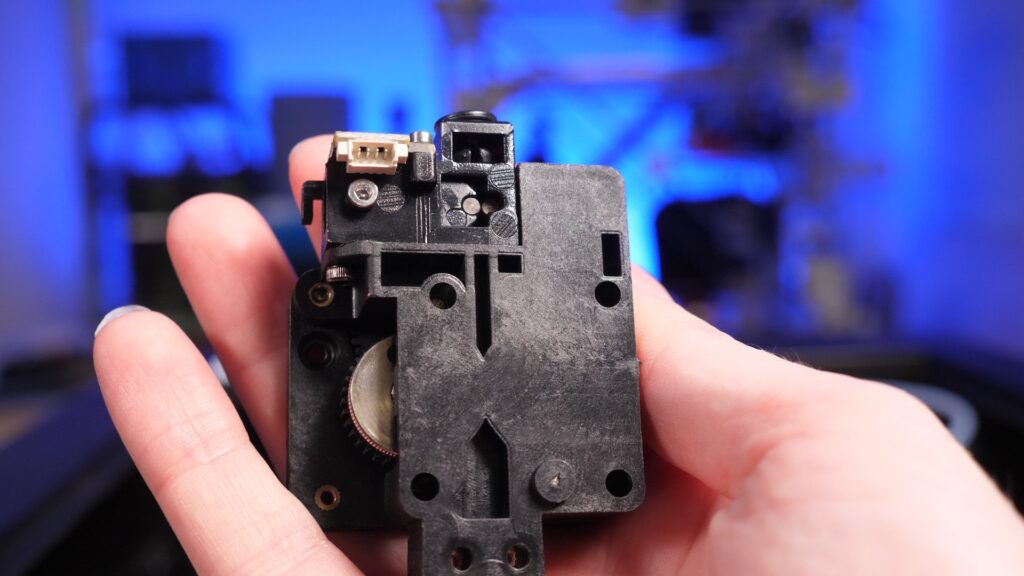
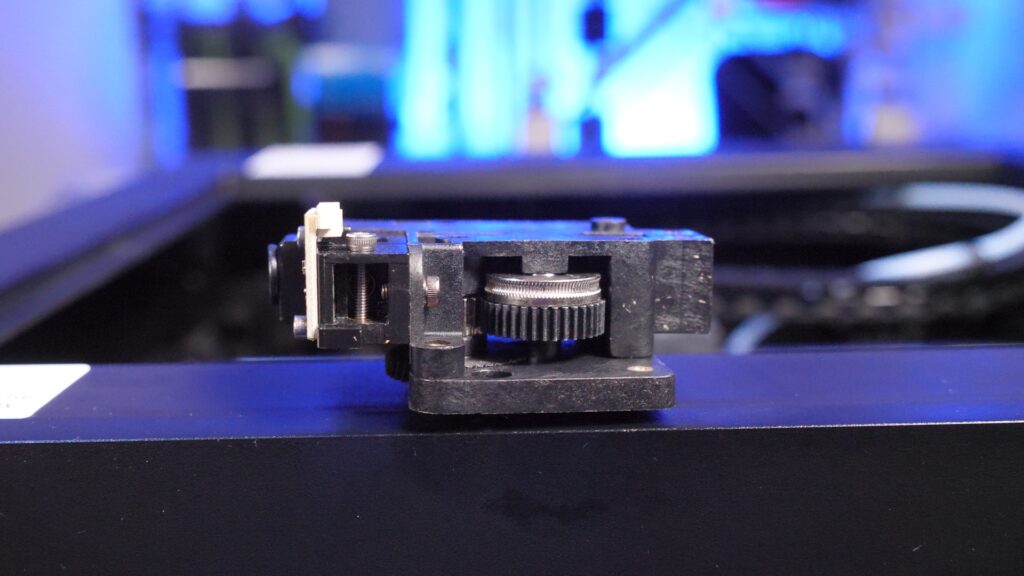
Doing a disassembly of the toolhead, the first thing I noticed is that maintenance and access to these parts is really pretty good. The hot end and extruder can be removed from the machine as a single unit with minimal fuss. The extruder is based on an LGX type design with fixed tension and a filament sensor at the top. One interesting feature to note is that they use a helical gear from the stepper motor. The hot end fixes to the extruder with two screws and is a similar form factor to the Bambu Labs X1C but with a larger round nickel plated block. The nozzle is similar to an e3D volcano but a few mm shorter so for a perfect fit you’ll have to buy the Qidi nozzles.
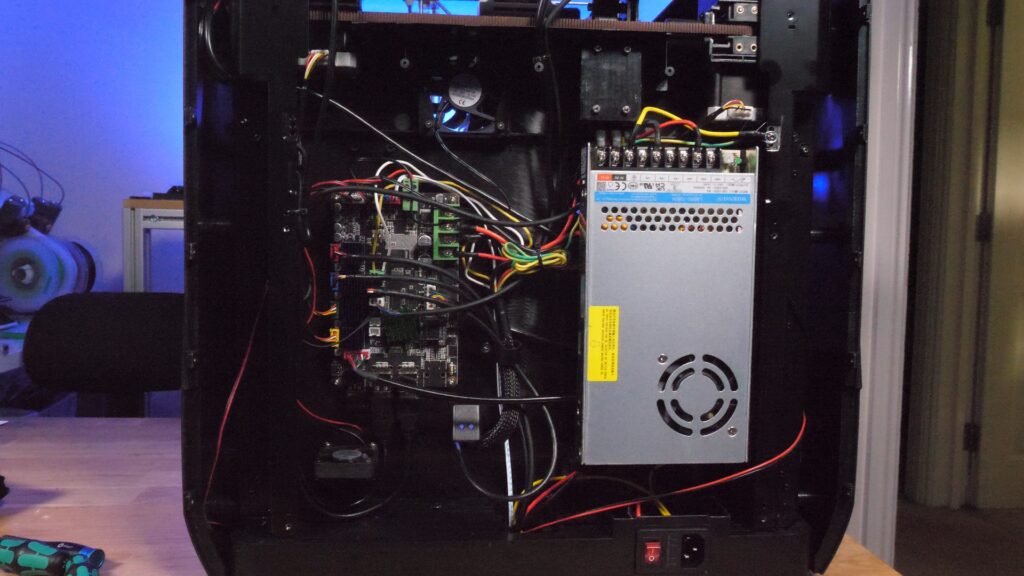
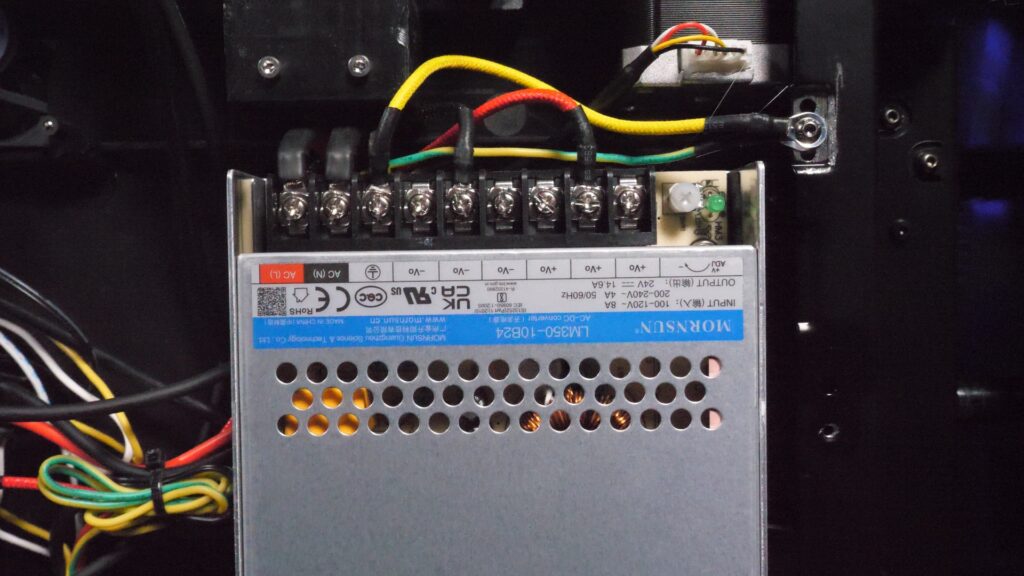
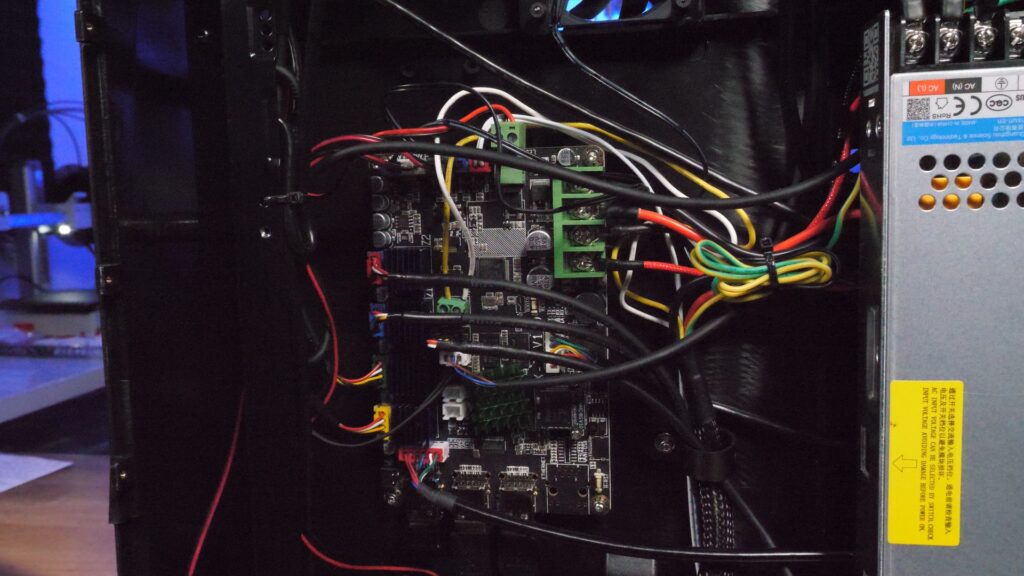
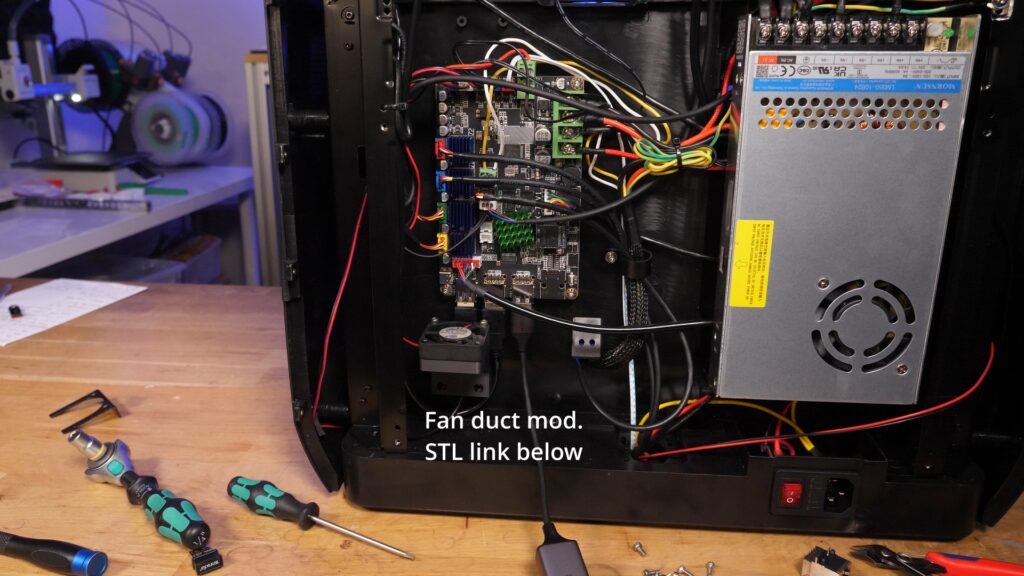
Taking the back panel off to see the electronics we find the main control board and power supply. The mainboard is made by Makerbase, a typical OEM designer, and based on the MKS SKIPR with the single board computer integrated into the mainboard and using EMMC memory. The power supply seems to be a fairly generic design MORNSUN 350W 24V unit. The wiring is a bit messy, but there is plenty of space back there, and nothing looks dangerously designed although the wires in the screw terminals ideally shouldn’t be soldered.
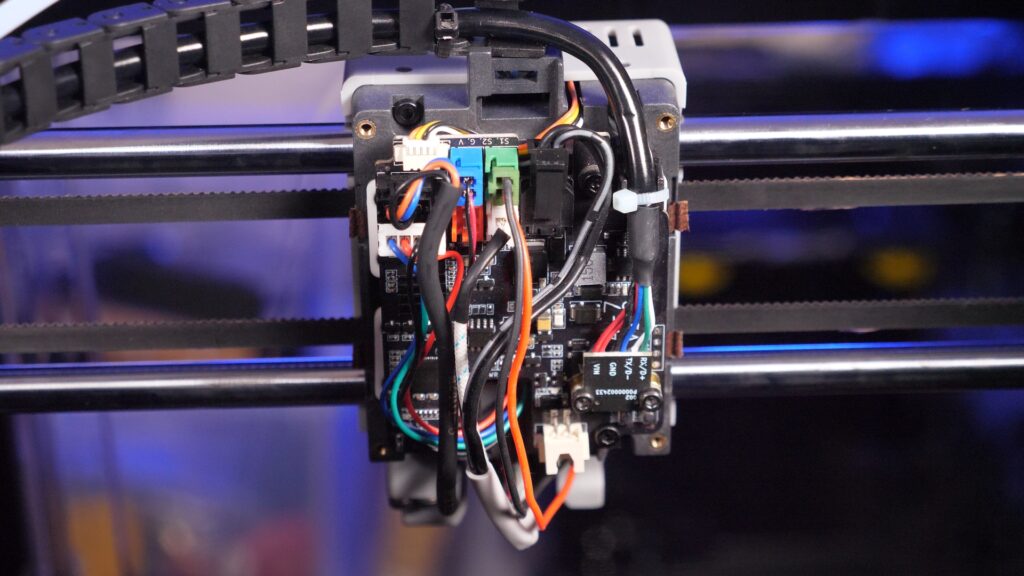
Looking at the toolhead electronics we notice a fan hole without a fan, but after removing the cover we, unsurprisingly, find an MKS toolhead board. Most of the connectors here are JST XH so that should certainly help with maintenance if needed. The cable used for communication and power is terminated at a PCB and secured in place with a zip tie. It looks a bit weird, but probably again should be replaceable if needed.
Software and Firmware
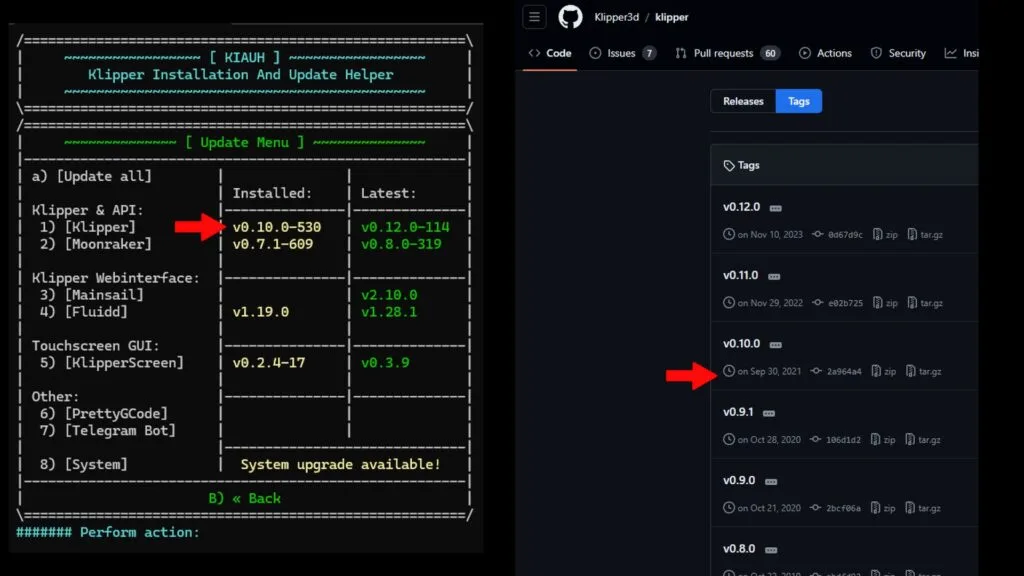
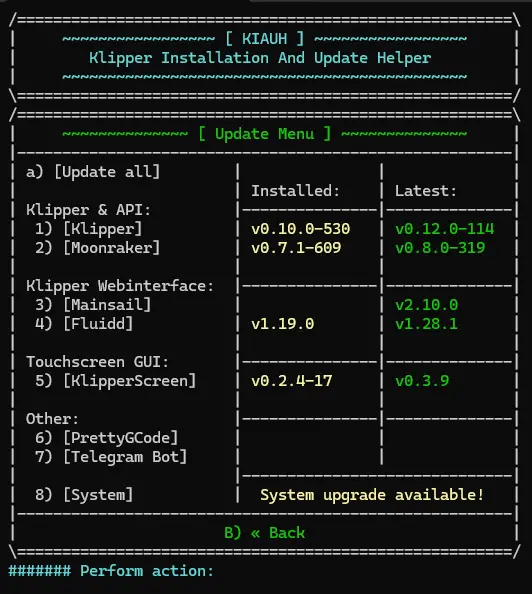
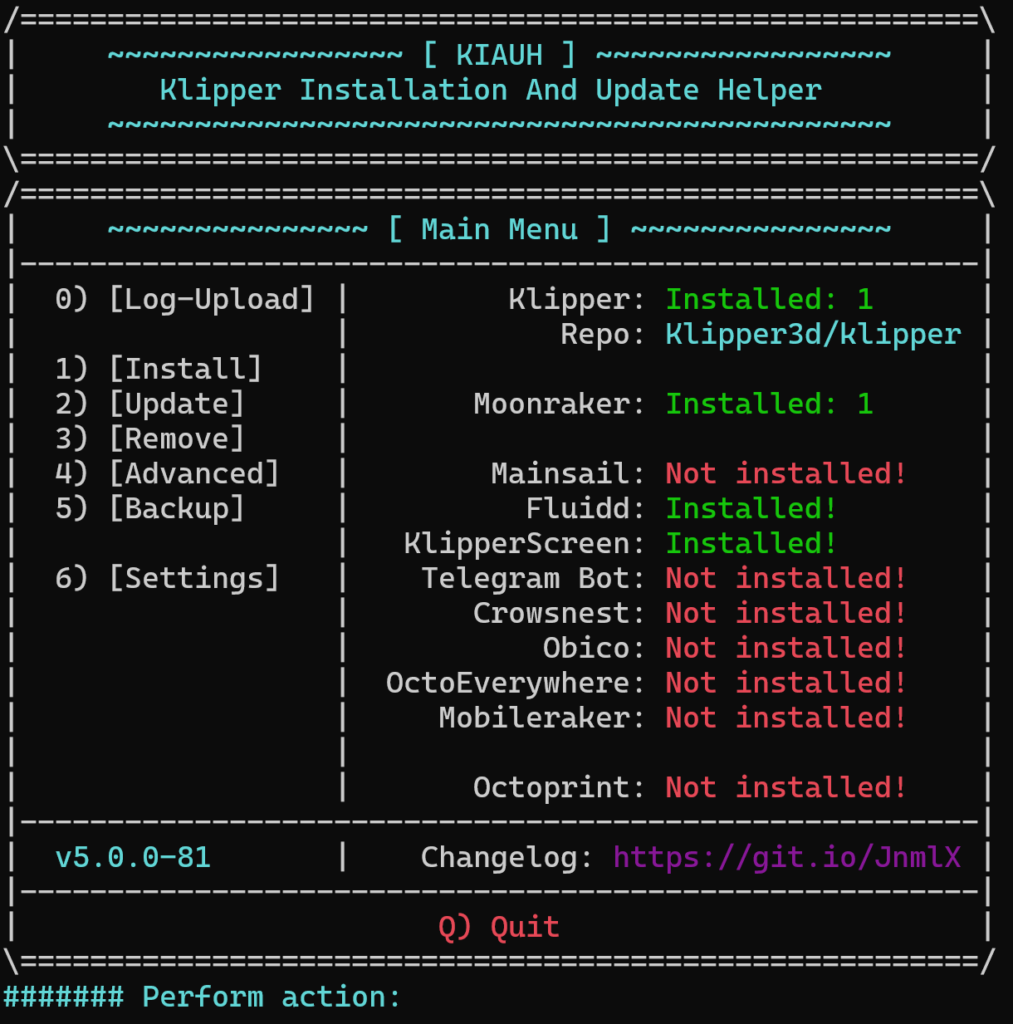
Then for the firmware that runs the printer, this is where things really fall apart. It runs Klipper and Fluidd, has Klipperscreen installed, and even runs the Klipper Installer and Update Helper (KIAUH). However, the version of Klipper they run is 2 years and 5 months old, they’ve also made a bunch of weird modifications, presumably for their kind of bad touch UI, and as a result you can’t update any of it. So from day one of owning your printer, you’re already 2 years out of date and can’t do anything about it. Ironic, given that the update helper comes pre-installed.
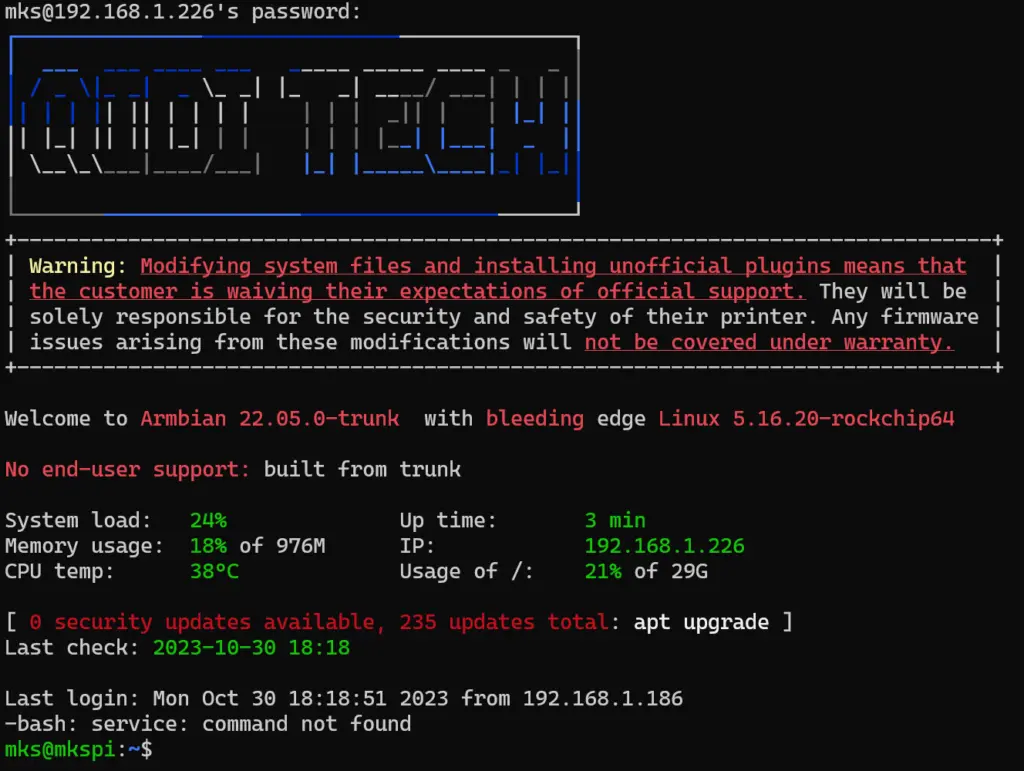
No single part of this is acceptable in my opinion. Make your modification a plugin so that everything else can still be updated, and so that your terrible modifications can be removed and ignored. Vanilla Klipper is best Klipper, stop messing around with it. At least you can get SSH access with the standard Makerbase credentials though.
Weird Decisions
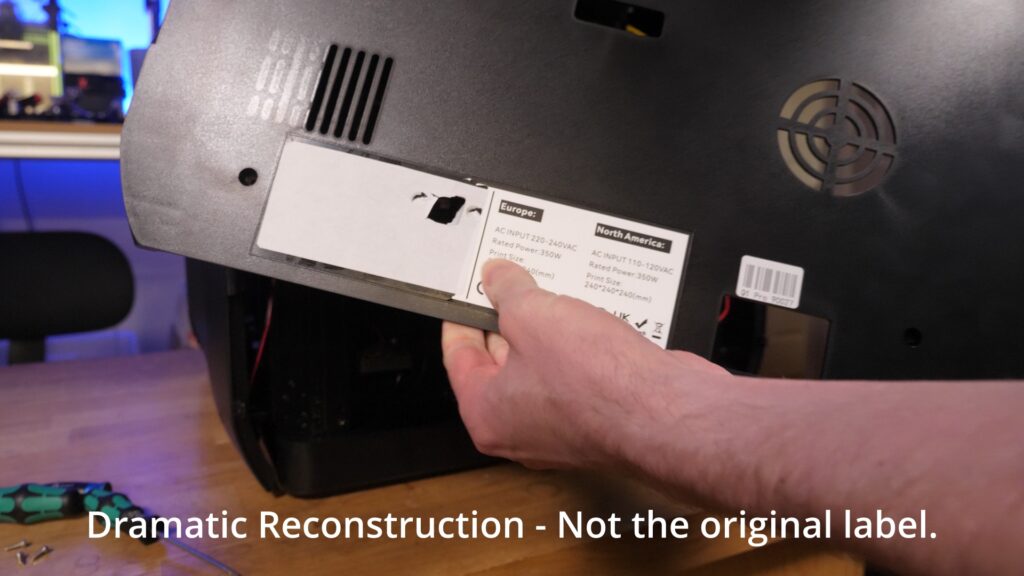
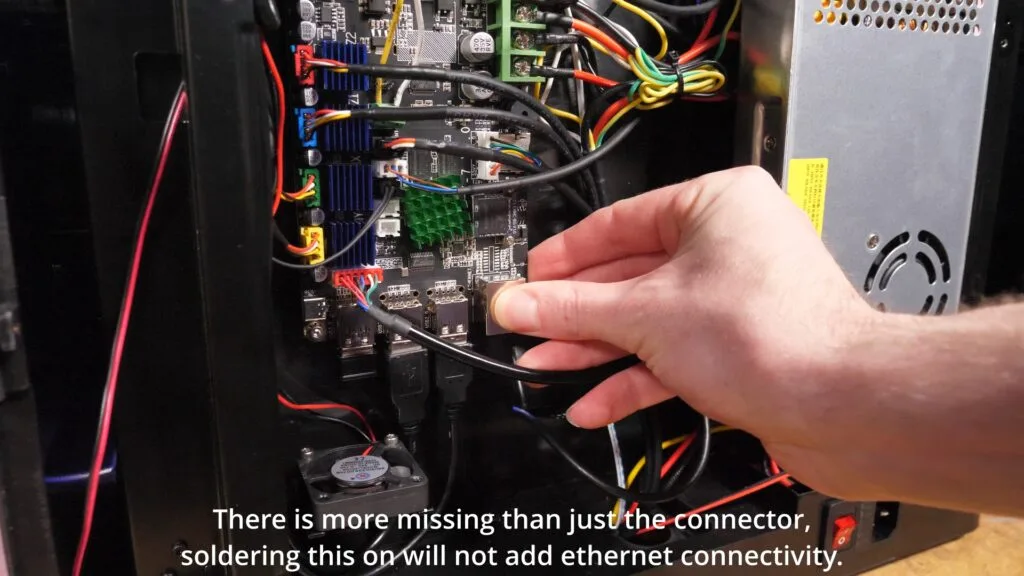
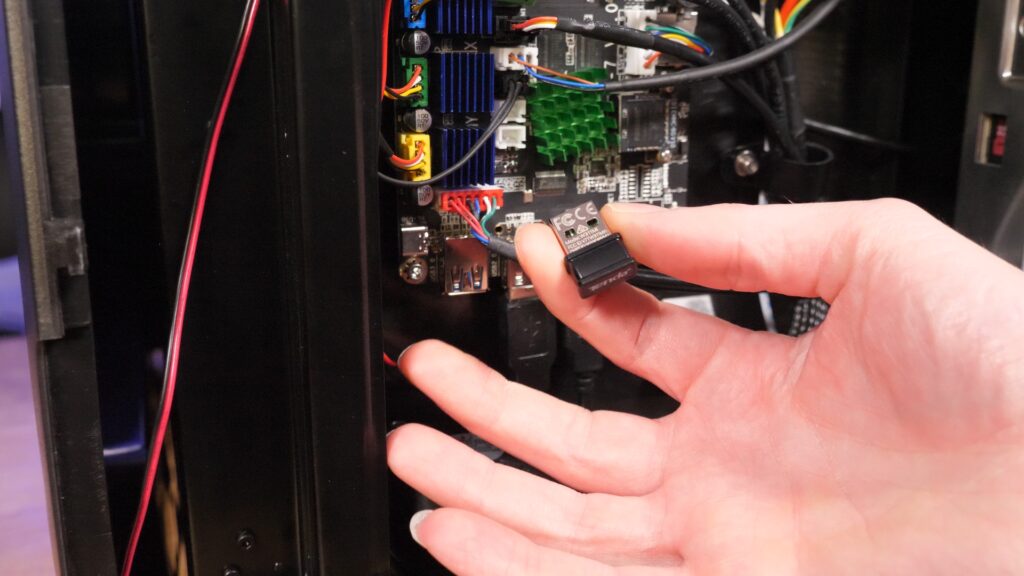
While we’re looking at weird decisions. You remember I said there is no setup for Wi-Fi? Well it turns out the board doesn’t actually have Wi-Fi itself, it’s just a plug in USB adapter. If you’re limited to Wi-Fi only you could use it, but this is a pro machine, so I’d expect more. Well the specs they sent me said it has ethernet so maybe we’ll just use that. Except it doesn’t, the hardware components have not been fitted to the control board. However, if you have a little look under the label on the back panel, you’ll find a square hole with small mounting holes either side. Exactly where the ethernet port should go. So I purchased an ethernet panel mount, and USB to ethernet adapter, plugged it in, and it works, not in every USB port, and you have to unplug the Wi-Fi, but it does work. Lastly, you can’t just go directly to the printer’s IP address like with every other Klipper machine, have to add 10088 as a port. Why? I really don’t know.
But wait, there’s more. The chamber heater we mentioned earlier should be a great benefit, but doesn’t do anything by default because it’s not been set up properly. When set manually on the web interface it does work quite well though, when enabled with the heated bed at 100C and the heater to 60C it gets the chamber to 60C in around 16 minutes. Quite impressive really.
The ‘unload filament’ button just tells you to cut it, and then it purges for ages which seems kind of wasteful when you could just do a retraction. The camera works although the lighting has no baffles or diffusion so really affects the final visual quality. Lastly, the touchscreen on the front is not very intuitive and is resistive rather than capacitive so not exactly a premium or Pro experience.
Ok, lets take a breath from ranting now and look at how the printer actually performs, maybe lots of weirdness can be forgiven if the final results speak for themselves. And actually, they kind of do. Sometimes.
Print Quality
Since its an enclosed machine, all the prints I’m showing here are done in ABS, but I have been using the machine for other projects too using PLA, just make sure to keep the top and door open.
As it starts to print, you’ll notice the nozzle pad and purge bucket at the back of the printer. From my usage so far this seems to work quite well despite being all a bit wobbly. However, the bucket is quite small, so remember to empty it before printing as it’s trapped behind the bed mid print.
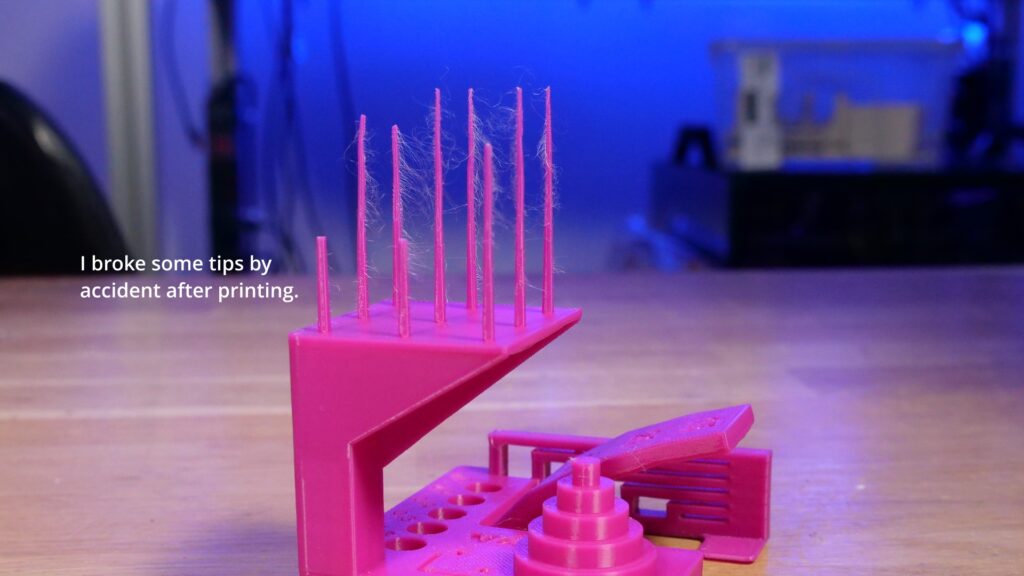
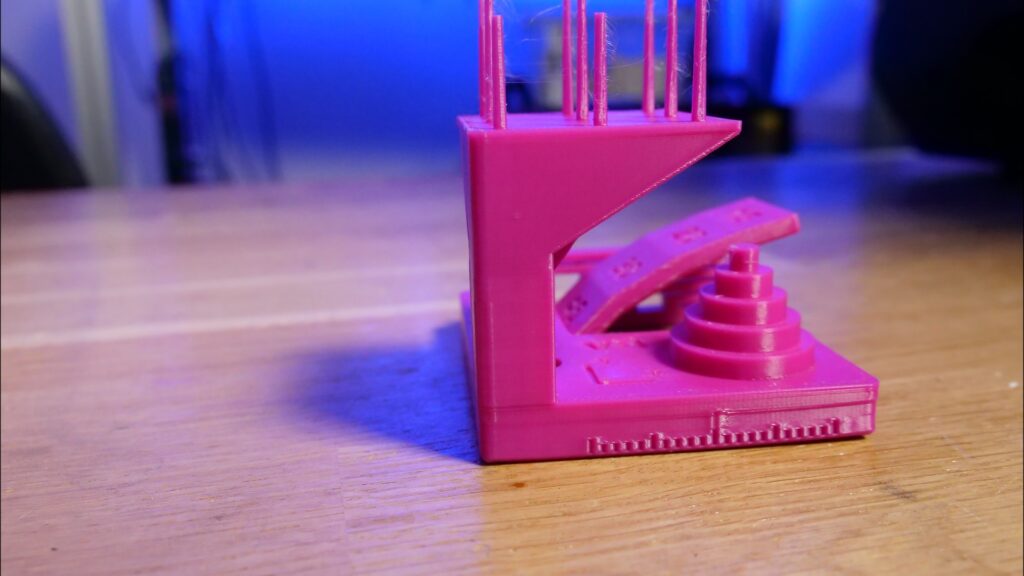
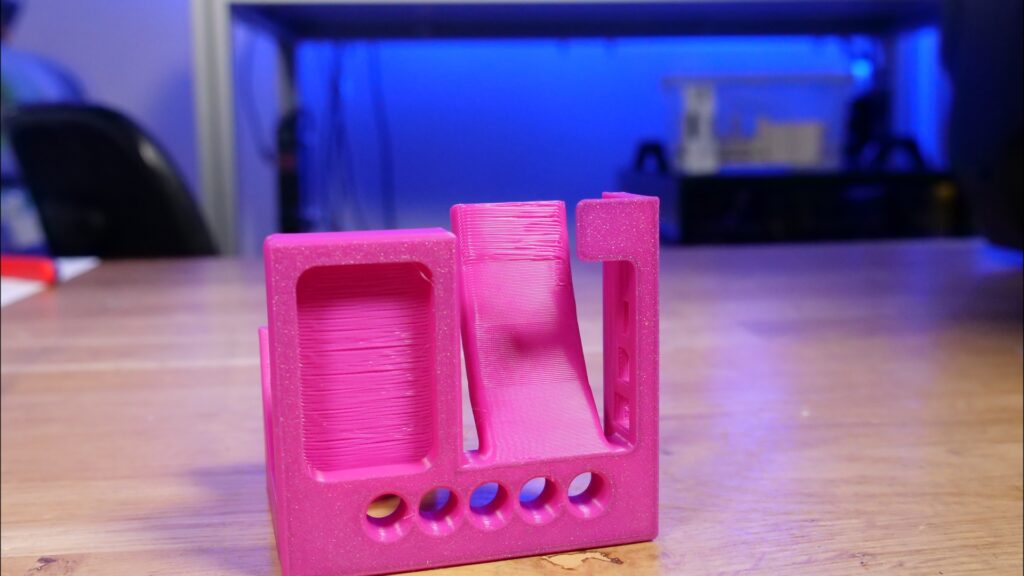
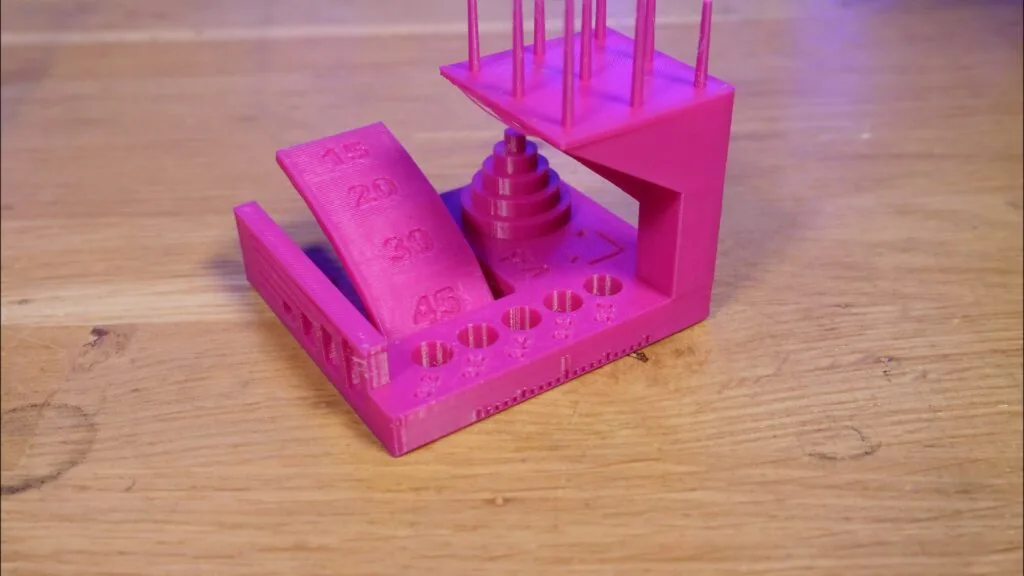
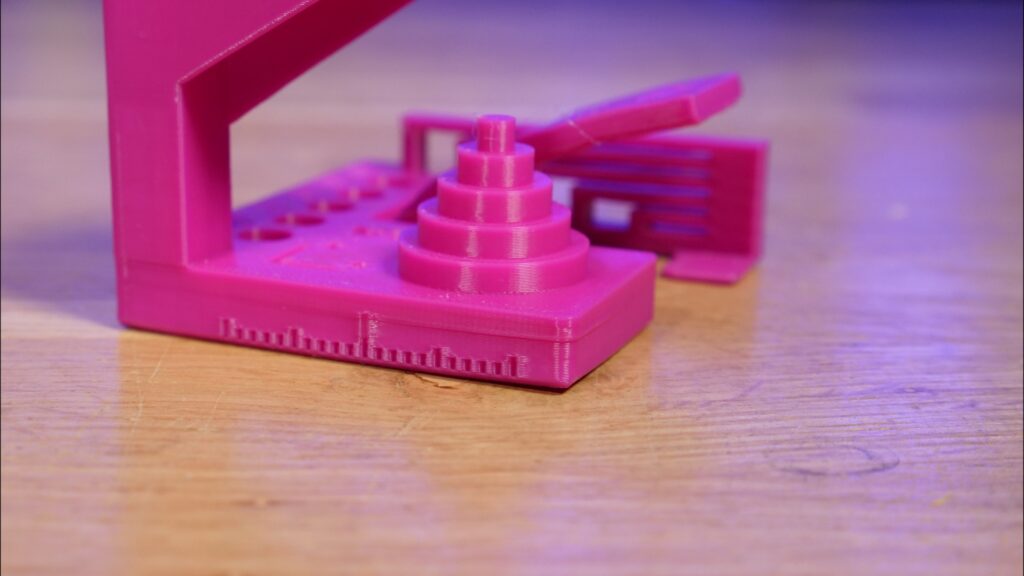
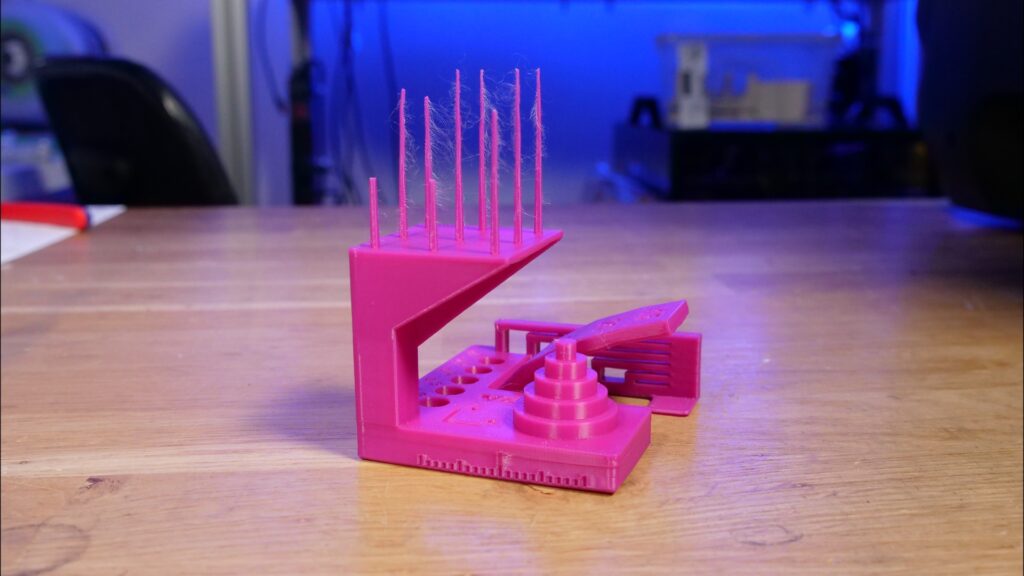
With the Autodesk Test Model we got some warping due to the 90C default bed temperature but other than that it’s a pretty good print. All the clearance gauges came loose or pushed out gently, the overhangs look good, bridging looks reasonable, and there are no obvious signs of Z banding type issues. There is a little bit of wispy stringing on the top spikes but nothing a bit of heat can’t resolve.

With my CaliLantern Test I found some pretty skewed axes ranging from 0.14 – 0.18 degrees although we were able to correct for this using the skew calculator.
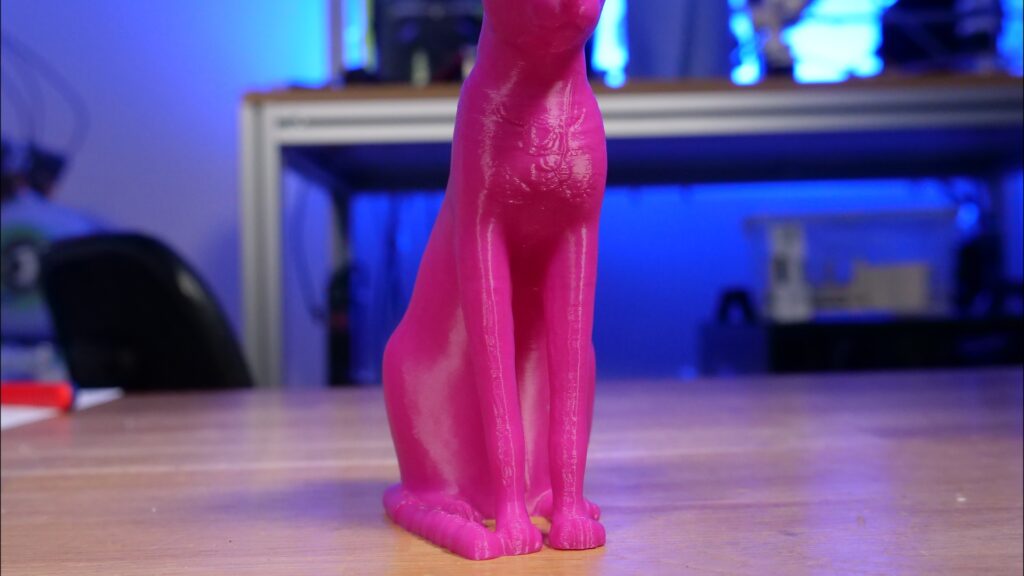
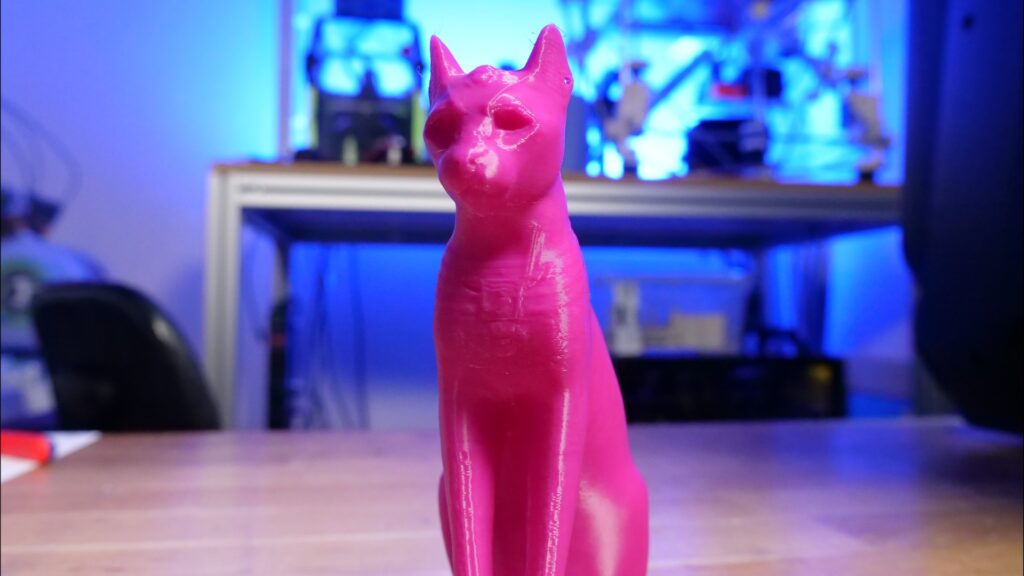
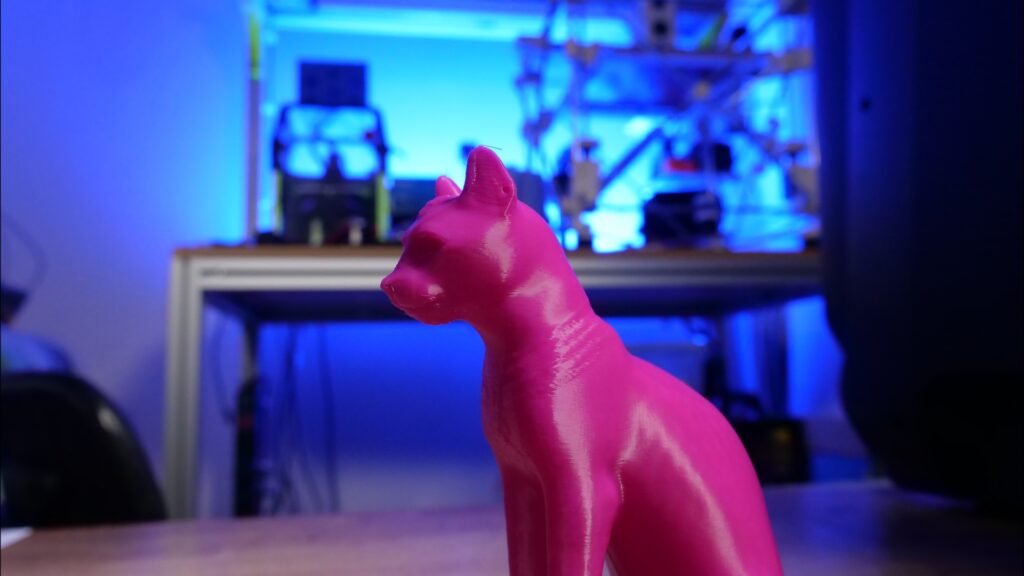
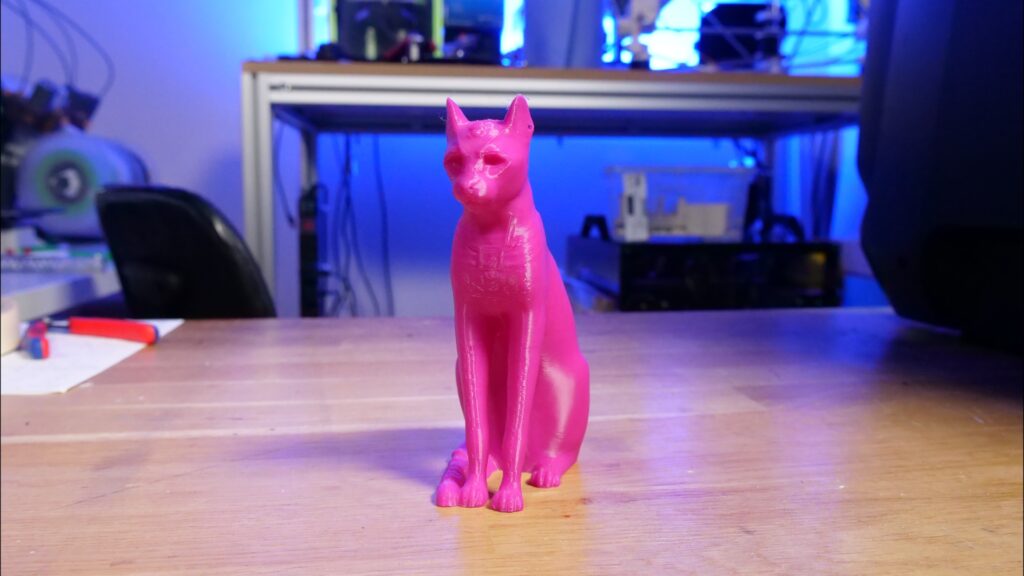
With the Gayer Anderson Cat model, the surfaces are smooth, the details are visible, there’s minimal stringing and the support pulled away easily.
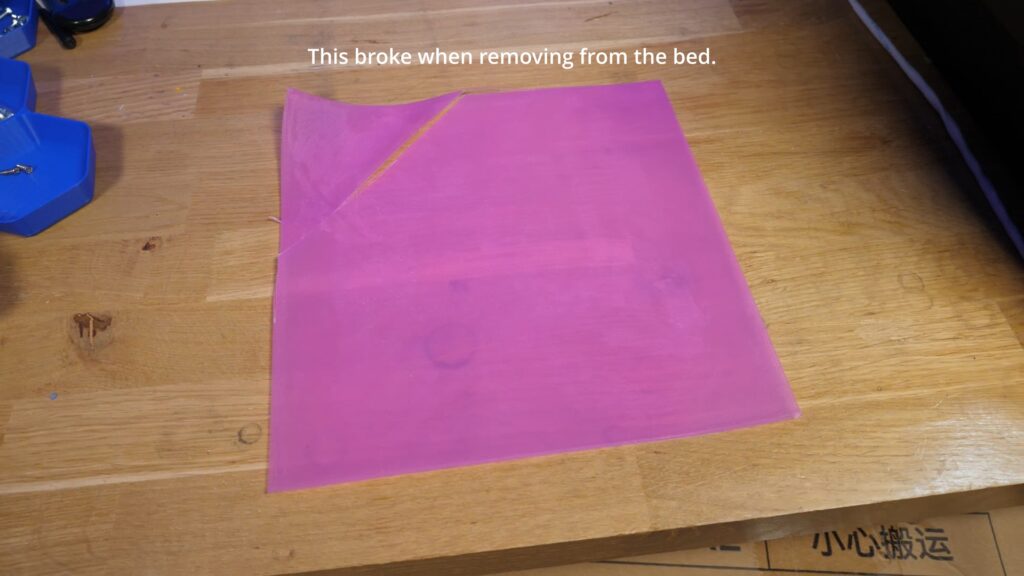
With the first layer test the largest square the slicer would accept was 232x232mm, presumably due to a reservation of space for purging. Nevertheless, It came out really well, a great first layer all the way across the build plate but unfortunately this isn’t something that was perfect every time in actual printing.
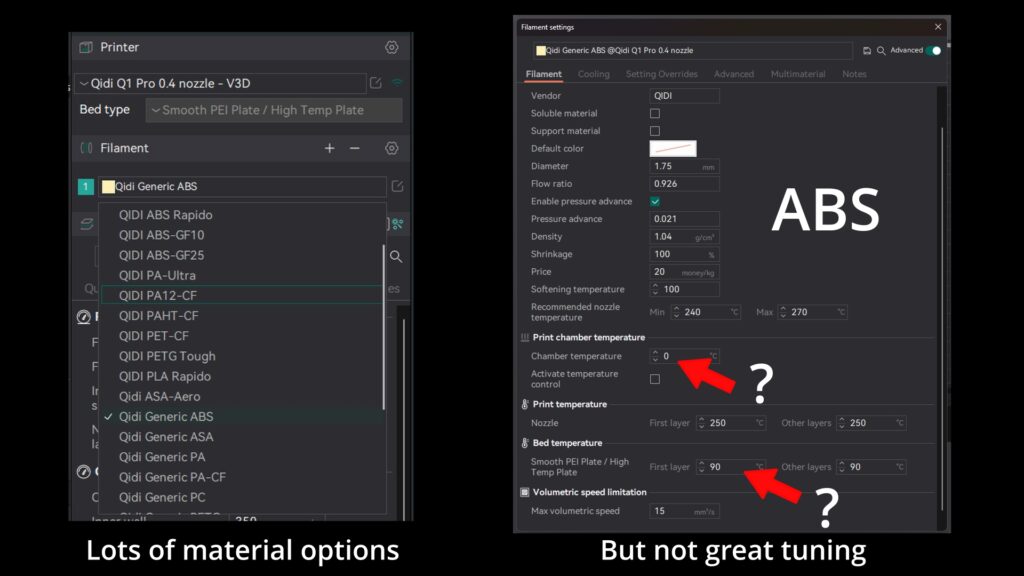
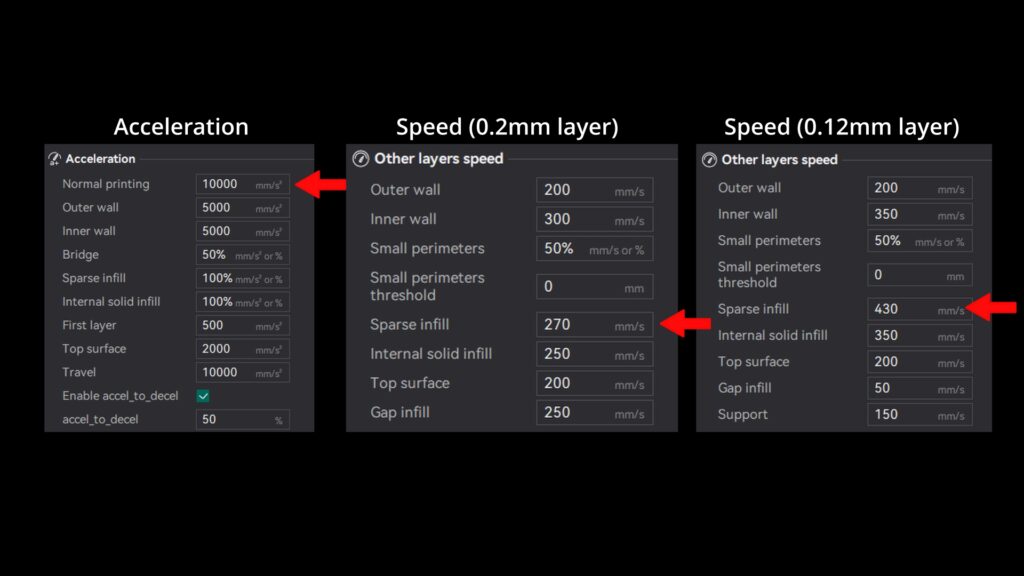
When it comes to the slicer settings themselves, despite boasting about 20k acceleration and 600mm/s printing speed the slicer settings they provide for this specific printer topped out at 10k acceleration and 270mm/s for 0.2mm layers. Up to 430mm/s for the finest 0.12mm layers. Not really even close to what was promised, although they do generally result in some good prints. The individual material settings are ok, but are lacking chamber temperatures, and the chosen temperatures seem a little off.
Conclusion
Despite its cheap and tacky appearance, the steel frame does its job and in combination with some reasonable print profiles does achieve some pretty good prints. If you’re after a ready to run machine for printing warp prone materials like ABS and ASA then you should be able to get many good prints off this machine.
If you’re keen to support Open Source work, this is not a printer you should buy, since there doesn’t seem to be any acknowledgement of open source provided, nor is the modified firmware available, despite them using it extensively to run pretty much every part of this machine.
For the $599 USD price point, they seem to be looking to compete with the Bambu Lab P1S. I don’t have one, but I do have an X1C. If Qidi hadn’t messed up the firmware so much, I’d consider picking this over a P1S. In the future, if they remove their bad UI and revert to Klipperscreen or guppy, with a vanilla Klipper install that updates, it starts to look like a much better proposition.
There are quite a few little annoyances with this printer but if you don’t think they’ll bother you, or you’re able to fix them, then the Qidi Q1 pro might be something worth looking into as your next printer.
Also, AMS when?